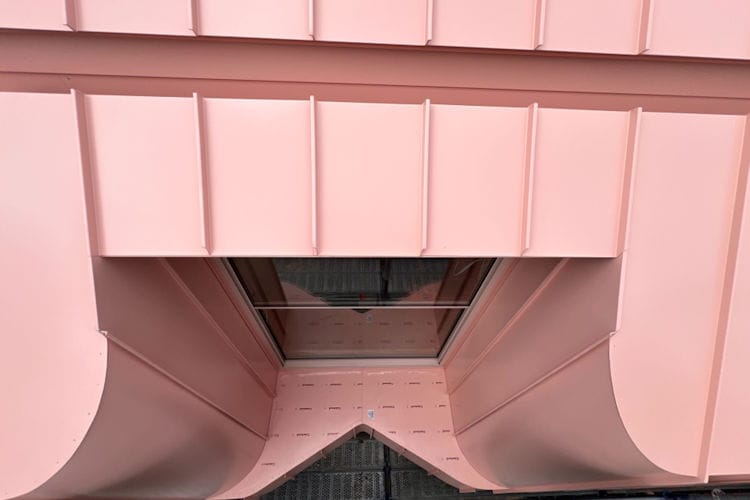

Curved Standing Seam Cladding Thornbury
Colorbond Cladding was used for the Walls with some custom panels created by Advanced Metal Cladding
Project Highlights
What Architects need to know Before the Permit Locks in the Radius
An architecture practice finalising a residential permit for a first-floor addition in Thornbury recently came to us with a straightforward but urgent question. The working drawings showed a curved façade wrapping the front of the building, radius 775mm, and the project was close to lodgement. Could it actually be built in metal, and what needed to change to make it work?
It’s a question we’re asked more often as curved and organic forms find their way into Melbourne residential architecture. The short answer is yes — both Standing Seam and Nailstrip can follow a curve. The detail that decides whether it looks deliberate or looks like a series of flat facets is panel width.
How Radius Drives Panel Width
For this 775mm external radius, we specified 305mm wide panels in 38mm Standing Seam, with 265mm as the equivalent option in 38mm Nailstrip. Push the panel wider than that on a curve this tight and the sheet won’t sit flush — the eye reads every join as a flat plane rather than a smooth sweep.
Every radius is different. A previous project with an approximate 350mm radius required a considerably narrower, custom panel to achieve the same clean line. There’s no single formula that covers every case — material, coil width, curve direction (concave or convex) and seam height all play a part, which is why we work through the actual geometry with the architect rather than quoting a rule of thumb.
Substrate Matters as Much as the Panel
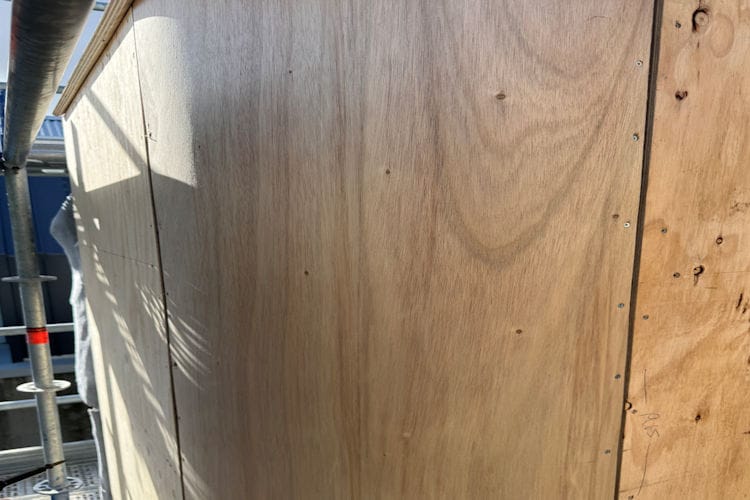
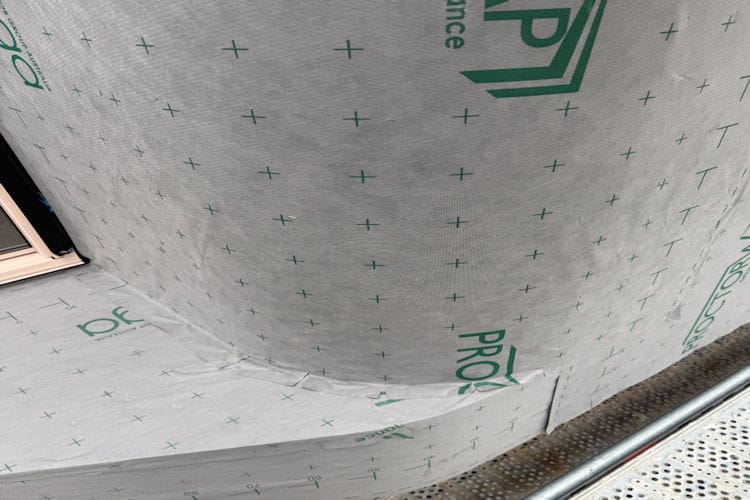
Panel width only gets you halfway there. The sub-construction has to be built to accept the curve before a single sheet goes on. Battens alone won’t do it — we recommend a curved plywood build-up, typically a combination of bendable plywood over structural plywood, so the panels are fully supported through the radius rather than bridging gaps. Get this stage wrong and no amount of panel engineering fixes it afterwards.
Why Timing Matters More Than the Maths
The real lesson from projects like this isn’t the radius calculation — it’s when the question gets asked. This one landed on our desk late in documentation, with the permit close to lodgement. There was still enough room to set the panel width correctly, but a tighter deadline and less flexibility than if we’d been looped in during design development.
Curved geometry, tapered forms and other non-standard details are exactly where an early conversation with your cladding contractor saves a redesign later — and protects the budget the client has already signed off on.
Get It Right the First Time
If you’re documenting a project with a curve, taper or anything else that falls outside a flat, straight wall, bring us in before the permit locks it in. We’ll tell you plainly what’s achievable, what it costs to achieve it, and what the drawings need to show to get it built right the first time.